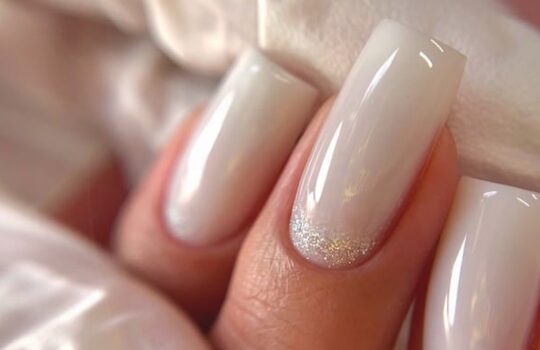
Removing a gel overlay is a process that requires attention, the right tools, and confidence in technique. Done correctly, it protects the natural nail and keeps your client comfortable. Let’s walk through everything you need to know for a safe and effective removal.
1. Understand the Product You’re Working With
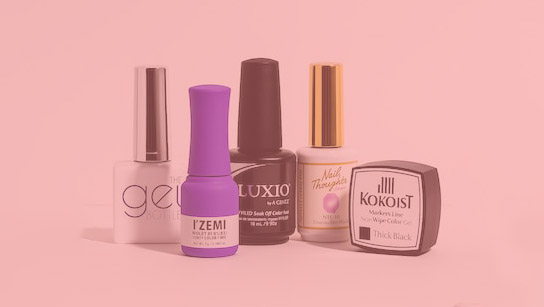
Before you even turn on the e-file, it’s important to know the type of gel applied. Every product has a different level of hardness and density. A soft builder gel removes much faster than a strong hard gel.
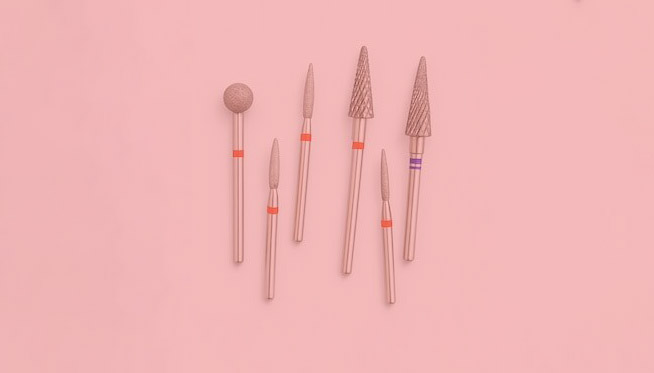
Matching the nail bit to the product type is key. If the bit is too fine, it will take too long and generate heat. If it’s too coarse, it can damage the natural nail.
Soft gels or flexible overlays — use a red (medium) or yellow grit bit.
Hard gels or structured overlays — use blue, green, or purple bits. These are stronger and cut through hard product cleanly without extra pressure.
When your bit matches the product, the removal feels smooth, the gel comes off in fine shavings, and you maintain full control of the process.
2. Choose the Right Speed — Don’t Be Afraid of Power
Many new nail techs lower their speed because they worry about hurting the client. However, this often does the opposite. Working at a slow speed can cause the bit to drag, vibrate, and heat up the nail surface.
For gel removal, the ideal speed is 25,000–30,000 RPM. This might sound fast, but it actually allows you to use less pressure and make lighter passes. At the right speed, your bit glides effortlessly, reducing friction and preventing “rings of fire.”
When working at high speed, always keep your hand stable, wrist relaxed, and movements confident. The machine should do the work for you — not your hand.
3. Use the Correct Technique and Bit Placement
The way you move your bit is just as important as the speed you use. A smooth, steady rhythm keeps the client comfortable and ensures even removal.
Think of your movement as an algorithm — always in the same order:
Start with the center of the nail. This is where the product is thickest.
Move to the sides, one at a time.
Finish by lightly filing the tip.
Use light pressure and let the e-file glide. Never press down or stay in one spot too long. The bit should only touch the surface briefly before moving along. Keep your strokes consistent and always move in one direction to avoid heat buildup.
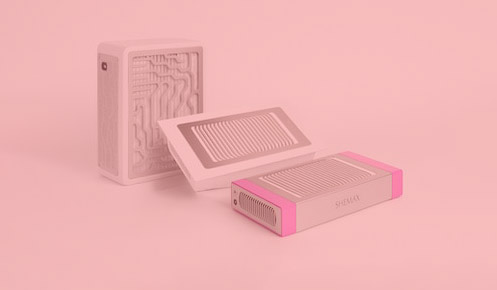
4. Watch for Heat, Dust, and Pressure
It’s easy to overlook these small details, but they make a big difference.
Always keep your bit clean to prevent clogging.
Wipe away dust regularly to see the product clearly.
If you notice the nail warming up, lift the bit for a second and let it cool.
This habit keeps your client relaxed and shows that you value their comfort and nail health.
5. Perfect the Finish
After most of the product is removed, switch to a fine grit bit or buffer. Smooth the surface gently until only a thin layer of gel remains. This thin layer helps protect the natural nail from over-filing.
Wipe the nail with alcohol to remove any remaining dust. Finish with cuticle oil and a gentle hand massage. The result should be a clean, smooth, and healthy-looking nail plate ready for a fresh application.
Final Thoughts
Removing gel overlay is not just about taking product off — it’s about control, confidence, and care.
When you choose the correct bit type, maintain the proper speed, and follow a smooth movement pattern, the process becomes simple, safe, and satisfying.
Your client will feel comfortable the entire time, and their nails will stay healthy and strong — ready for the next flawless set.
Photo suggestion: A bright, minimal studio photo showing a nail technician using an e-file with clean hands, natural lighting, and focus on the nail surface — capturing precision, care, and professionalism.