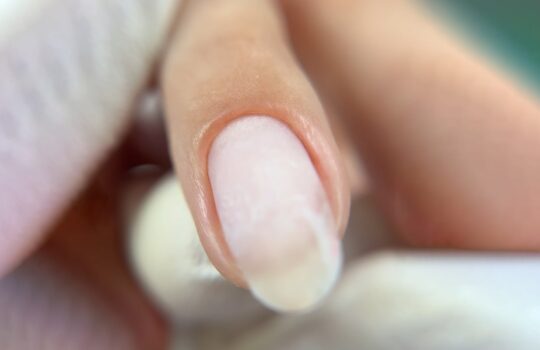
Down-growing nails are a challenge many clients face, and knowing how to correct them is an important skill for nail technicians. Nails that slope downward can look unbalanced, break more easily, and make extensions harder to wear. By using Polygel (or Acrygel), you can visually lift the nail, strengthen the free edge, and give your client a more flattering result. While this correction isn’t permanent, it can last for 2–3 appointments and greatly improve the client’s comfort and satisfaction.
Step 1: Preparation with a Russian Manicure
Begin by cleaning the cuticle area thoroughly using Russian manicure technique. Remove excess cuticle, dead skin, and shine from the nail plate.
This step ensures maximum adhesion of your base gel and prevents lifting at the cuticle line.
Proper prep is essential—any oil, skin, or dust left behind will compromise the entire correction.
Step 2: Base Layer for Strong Adhesion
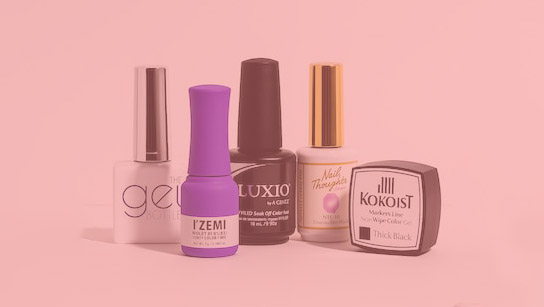
Apply a thin layer of base gel. The best option here is American Creator Base Gel, known for its adhesion and flexibility.
This base layer acts as the “glue” between the natural nail and the Polygel. Without a proper base, the thicker product won’t hold.
Step 3: Building the Correction with Polygel
This is the most important part of the process.
Pick up a bead of Polygel or Acrygel and place it on the free edge of the nail.
Start working from the center of the nail outward, building structure gradually.
Use an oval brush held at a flat angle for best control.
Dip the brush into a slip solution (alcohol-based) before touching the product. This prevents the Polygel from sticking or dragging.
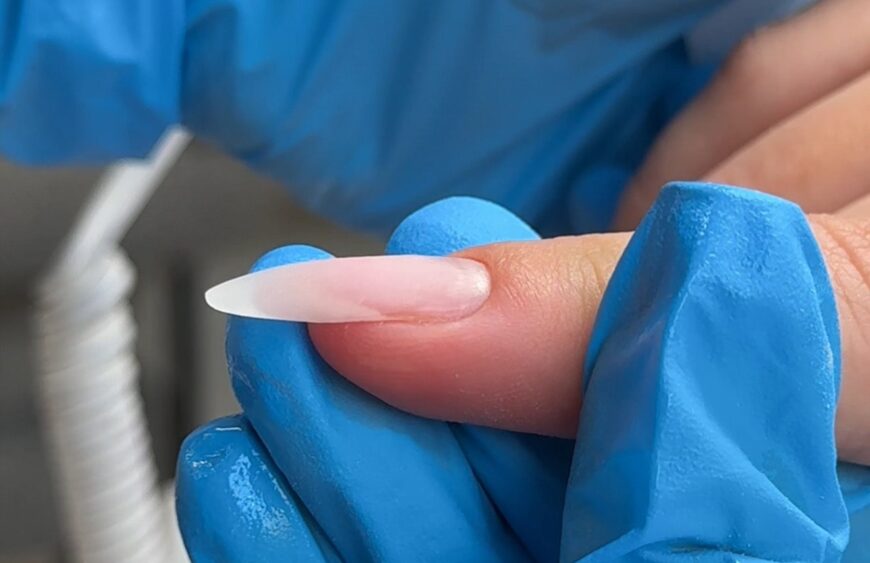
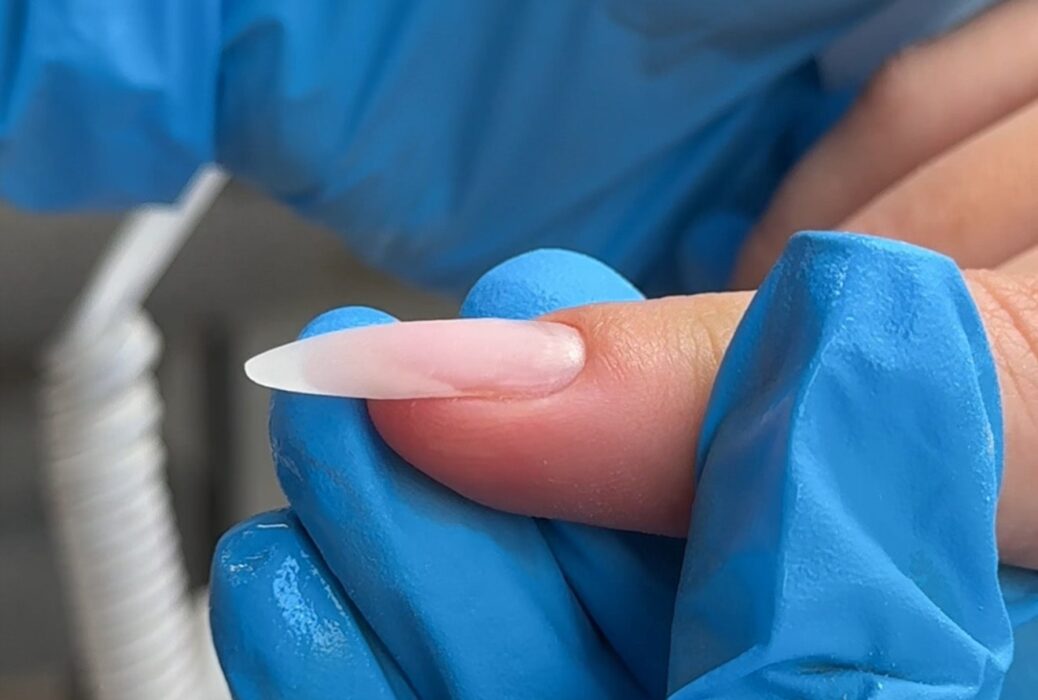
Apply more product than you think you need. Many beginners get nervous seeing too much bulk, but for down-growing nails, extra thickness is necessary to create a balanced and lifted free edge.
Concentrate the thickest layer of product on the downward-sloping portion of the nail. This added height visually “pushes” the nail upward, making it appear straighter.
⚡ Pro tip: Keep the product smooth and controlled while building. Do not press too hard with the brush—gentle patting and guiding movements give the best results.
Step 4: Curing Properly
Cure the nail for 60–90 seconds in a professional LED/UV lamp.
Because the product is applied thicker in some areas, a longer cure ensures the Polygel is hardened all the way through.
Incomplete curing can lead to lifting, cracks, or product breakdown.
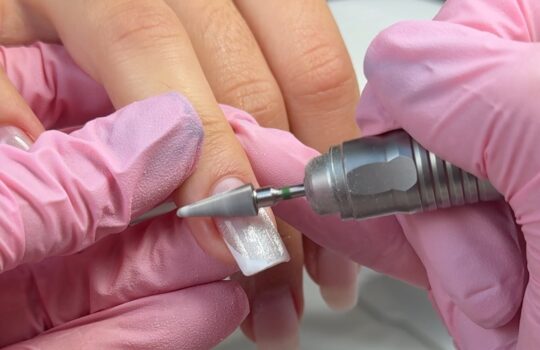
Step 5: Refining the Structure
Once fully cured, refinement is what makes this correction look natural.
Flip the client’s hand upside down. This position gives you a clear view of the free edge and underside of the nail.
Use a nail file or an under-nail cleaner bit with your e-file to shape from beneath the free edge, removing excess bulk and evening out the nail’s angle.
File carefully at the corners and edges where downward growth is most noticeable.
From the top, buff and smooth the surface to ensure the structure flows seamlessly into the natural nail.
Finish shaping so the nail has proper apex, balance, and straight visual lines.
This underside refinement is crucial—it not only enhances the correction but also prevents pressure points and improves the durability of the extension.
Step 6: Seal and Finish
After shaping, cleanse the nail and apply your chosen top coat for shine and protection.
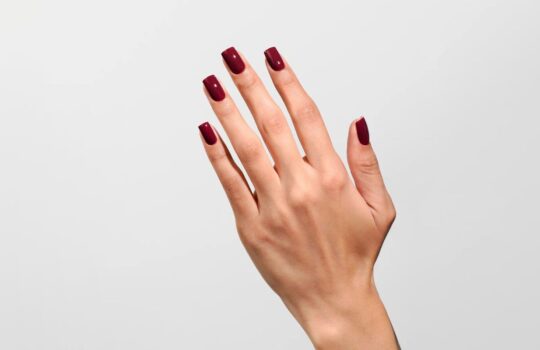
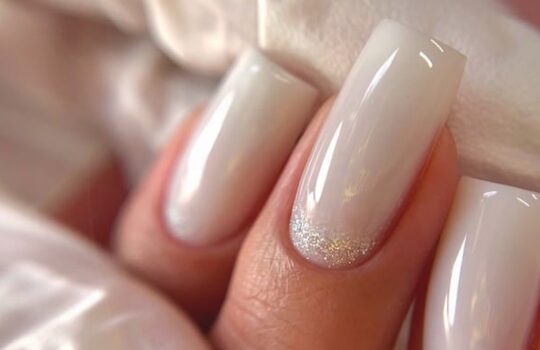
At this point, the nail will look straighter, stronger, and more elegant while still feeling comfortable to the client.
Why This Correction Matters
Visual lift: Polygel placement makes down-growing nails look straighter.
Stronger free edge: Added structure reduces the risk of breakage.
Temporary but effective: Results typically last for 2–3 fills/appointments.
Safe for natural nails: When done correctly, this method does not damage the natural nail plate.
By learning this correction technique, you’ll be able to confidently handle one of the most common nail concerns. Down-growing nails don’t have to hold your clients back from wearing beautiful, balanced extensions—your skill and product choice can make all the difference.